
If you're tired of hearing the term "Jamstack" but still curious about what it means, don't worry! We'll explain it in a simple way.
We'll be creating a basic blog that is affordable to run, fast, and secure. We'll use NextJS to generate the website statically, and we'll get our blog posts from the public API of WordPress.
A basic understanding of JavaScript and React will be helpful in following along
Server Side Rendering and Static Site Generation are two modern approaches to building web applications that are fast, efficient, and optimized for search engines. By moving some of the workloads from the client's browser to the server, these techniques help to reduce the overall page load time and improve the user experience.
Requirement
- NextJs
- Node v14.6 or newer
- npx
Similar to npm, npx is a package runner that executes packages hosted on the npm registry. In this case, we will use npx to execute create-next-app
npx create-next-app@latest <project-name>
Feel free to name your project as you like. I’ll name this blog-demo
npx create-next-app@latest blog-demo --typescript
On the CLI, I selected all the default configurations. (Hit "Enter" to keep going").
When the installation is complete run
cd blog-demo && code .
We can start the development server and preview the default app in the browser.
npm run dev
Our default NextJs app is running on the browser. everything working as expected and our focus directory is the pages directory where all our routes point to the index.tsx. A second page is required to show the post detail when clicked. We can name this page [slug].tsx . This is how dynamic routes are created in NextJs. Let's move this new file into a posts folder. The new pages structures look more like this
📁 pages
   |__ index.tsx
   |
   |__ 📂 posts
        |___[slug].tsx
After removing all that we don't need from pages/index.tsx it took this shape
import Head from 'next/head'
import styles from '@/styles/Home.module.css'


export default function Home() {
 return (
   <>
     <Head>
       <title>Blog Demo</title>
       <meta name="description" content="A practical guide to Jamstack" />
       <meta name="viewport" content="width=device-width, initial-scale=1" />
       <link rel="icon" href="/favicon.ico" />
     </Head>
     <main className={styles.main}>

     </main>
   </>
 )
}
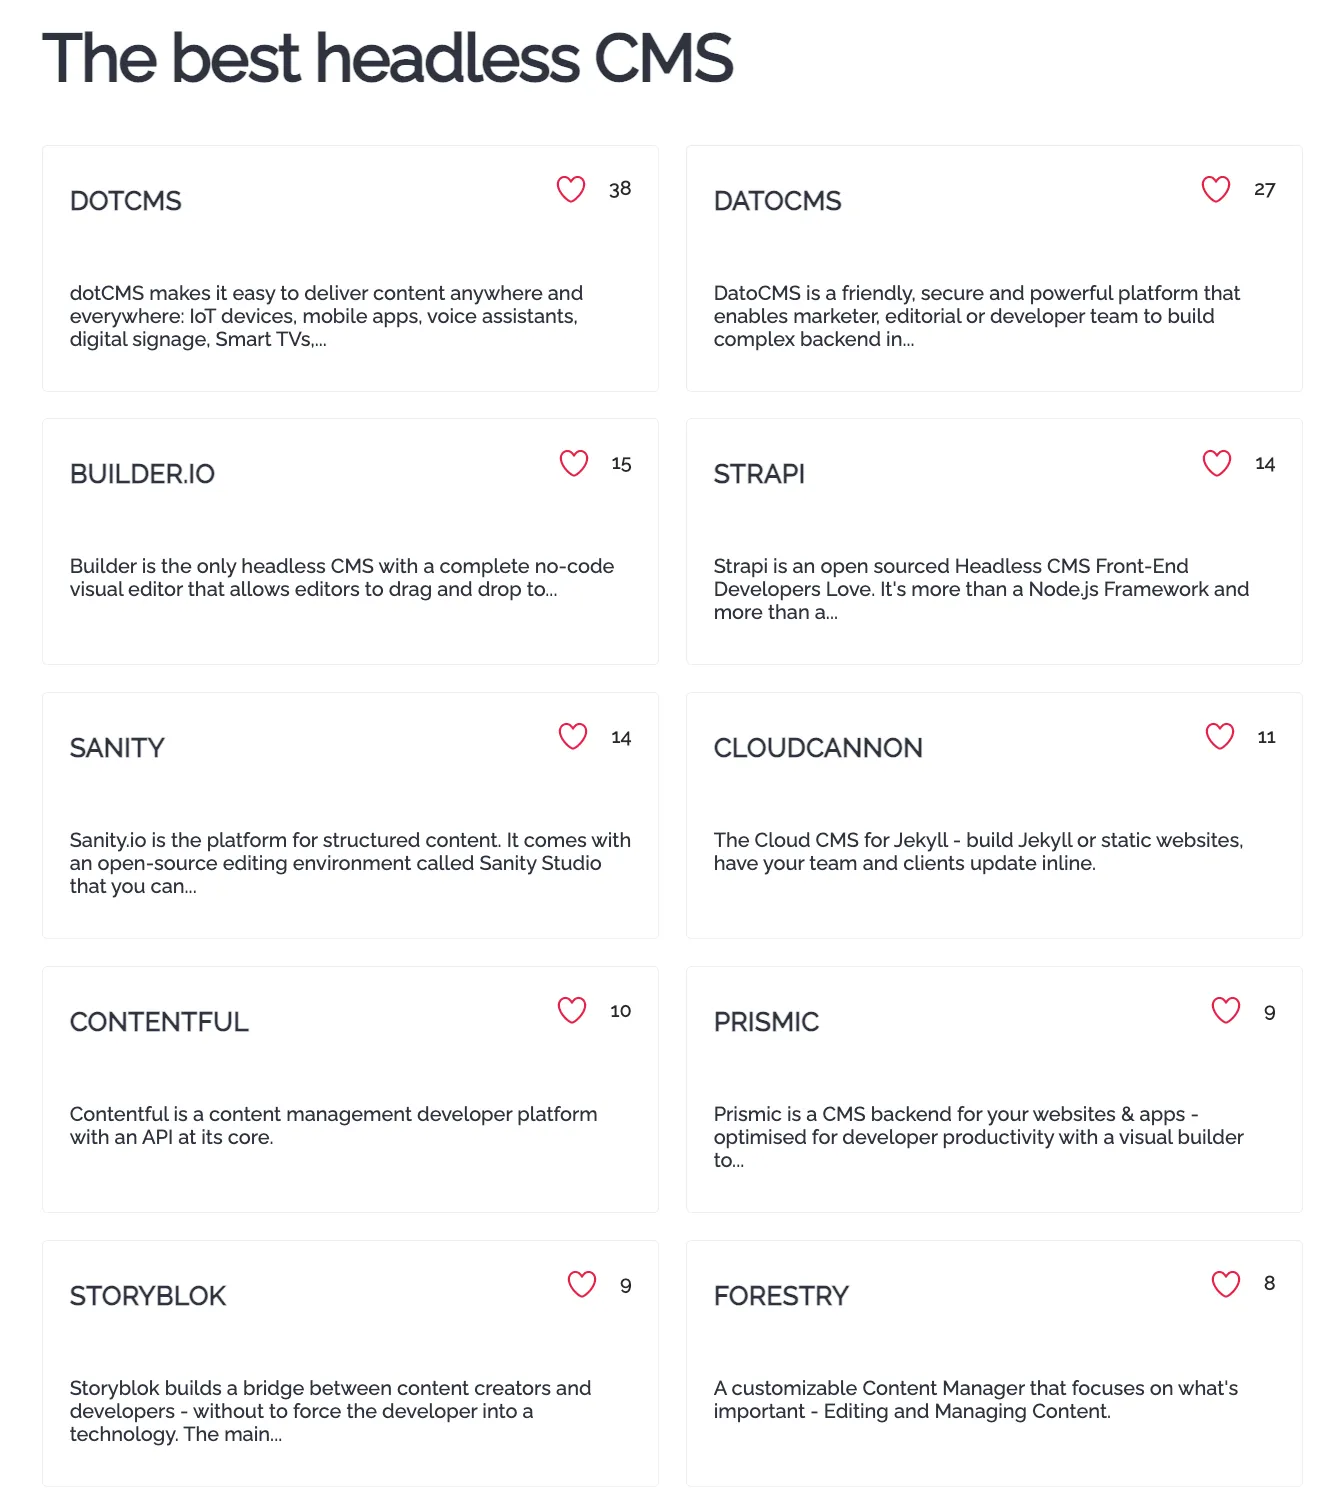
Choosing a cms
Jamstack applications rely on content APIs for their dynamic content. There are many CMS options to choose from, including Strapi, Contentful, and Sanity. Choose a CMS that best fits your needs and integrate it with your NextJS project.
Index Page
In the course of this article, we'll be using a Wordpress.com API as a CMS for our blog.
Our blog page needs to fetch the list of blog posts from the CMS and display them on the index page.
import Head from "next/head";
import Link from "next/link";
import styles from "@/styles/Home.module.css";

export default function Home({ posts } : any) {
  return (
    <Head>
        <title>Leccel Blog</title>
        <meta name="description" content="A practical guide to Jamstack" />
        <meta name="viewport" content="width=device-width, initial-scale=1" />
        <link rel="icon" href="/favicon.ico" />
      </Head>
      <main className={styles.main}>
        <h1>In the news</h1>
        <ul>
          {posts.map((post: any) => (
            <li key={post.ID}><Link href={`posts/${post.slug}`}>{post.title}</Link></li>
          ))}
        </ul>
      </main>
  )
}
To retrieve data before rendering, Next.js provides a way to export an async function called getStaticProps from the same file. This function is executed during the build process and allows you to send the retrieved data as props to the page for pre-rendering.
// This function gets called at build time
export async function getStaticProps() {
  // Call the wordpress.com API endpoint to get posts
  const res = await fetch(
    "https://public-api.wordpress.com/rest/v1/sites/200671771/posts"
  );
  const allPosts = await res.json()

  // By returning { props: { posts } }, the Home component
  // will receive `posts` as a prop at build time
  return {
    props: {
      posts : allPost.posts,
    },
  }
}

export default function Home({ post }: { post: any }) {

  ...
The result from the REST API has this structure. so that is why we had to call allPosts.posts
{
    posts: [
      {
        ID, title, content, excerpt, author,slug, featured_image ...
      }
    ]
}
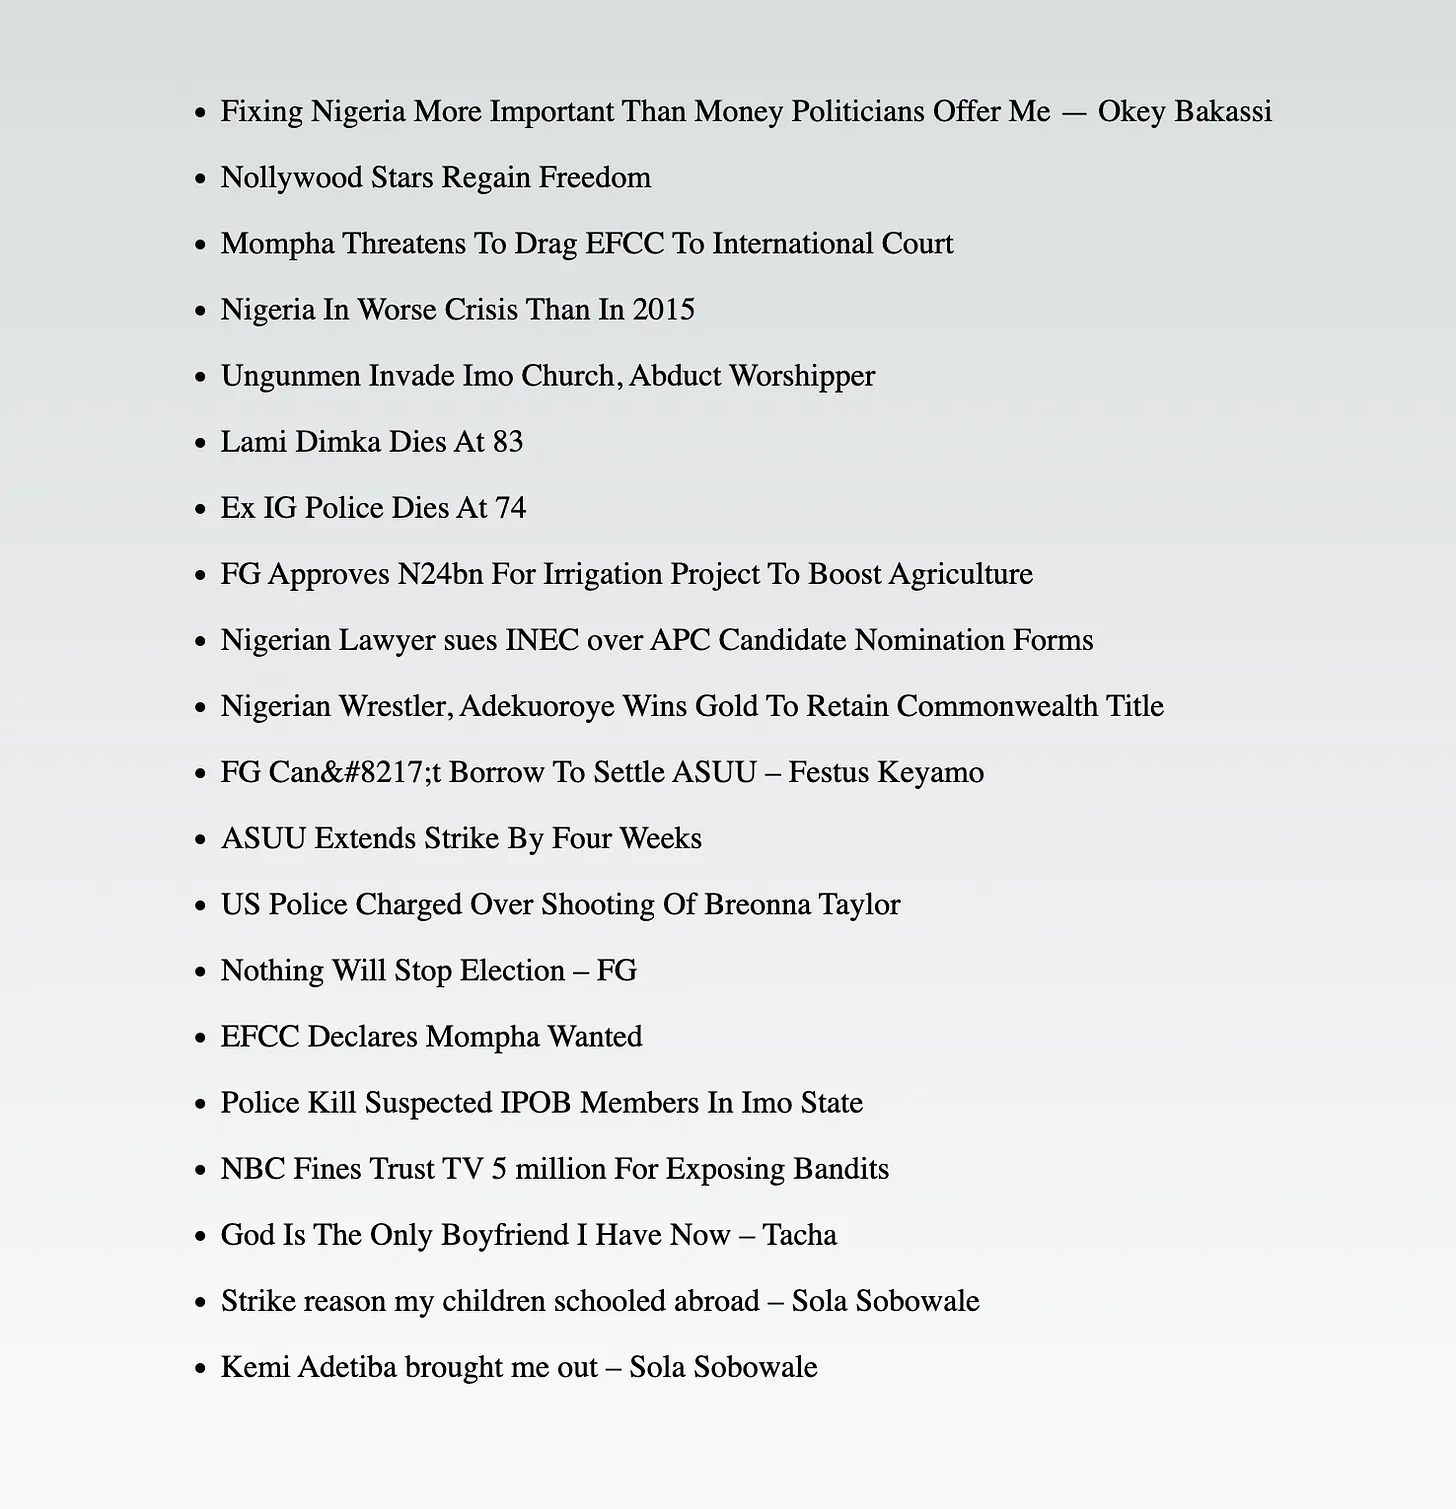
Here's what it looks like on the browser
Details Page
For the details page, post/[slug].tsx, we’ll get the slug from the route’s param and query our CMS API for the single post's details. We'll be bringing getStaticProps again. Before jumping in, we'll create some helper functions helpers/index.ts to avoid redundant repetition, When calling our CMS API. here's what it looks like
export async function fetchAllPosts(field: string = '') {
  const res = await fetch(
    "https://public-api.wordpress.com/rest/v1/sites/200671771/posts?fields="+field
  );
  return await res.json();
}

export async function fetchSinglePost(slug: string) {
  const res = await fetch(
    `https://public-api.wordpress.com/rest/v1/sites/200671771/posts/slug:${slug}`
  );
  return await res.json();
}
And then back to our posts/[slug].tsx we'll be using our helper function to fecth the post by it's slug
import { fetchSinglePost } from "@/helpers";

export const getStaticProps = async (context) => {
  const post = await fetchSinglePost(context.params!.slug as string);

  return {
    props: { post },
  };
};
In the template part, we can show some of the post details
import { fetchSinglePost, createMarkup } from "@/helpers";
import Head from "next/head";
export default function BlogPost({post}: any) {
  return (
    <>
      <Head>
        <title>{post.title}</title>
        <meta
          name="description"
          content={post.title}
        />
        <meta name="viewport" content="width=device-width, initial-scale=1" />
        <meta
          property="og:image"
          content={post.featured_image}
        />
        <link rel="icon" href="/favicon.ico" />
      </Head>
      <div className="mian">
          <div className="blog-html">
            <h1 className="text-center">
            {post.title}
            </h1>
            <div
              className="content"
              dangerouslySetInnerHTML={createMarkup(post.content)}
            ></div>
          </div>
      </div>
    </>
  )
}
The post.content is in HTML format, so we need to insert it into our page. ReactJs provides a method for this using dangerouslySetInnerHTML.
function createMarkup(content: string) {
  return {__html: content};
}
<div
  className="content"
  dangerouslySetInnerHTML={createMarkup(post.content)}></div>
To pre-render all the available posts, it is important we provide a list of all the post slugs. To do this, we will export an async function getStaticPath that returns an object in the posts/[slug].tsx file
import { fetchAllPosts, fetchSinglePost, createMarkup } from "@/helpers";
...
export async function getStaticPaths() {
  const res = (await fetchAllPosts('slug')).posts.map((post: any) => ({
    params: post,
  }));

  return {
    paths: res,
    fallback: false,
  };
}
...
and a reminder the helper function fetchAllPosts is like this
export async function fetchAllPosts(field: string = '') {
  const res = await fetch(
    "https://public-api.wordpress.com/rest/v1/sites/200671771/posts?fields="+field
  );
  return await res.json();
}
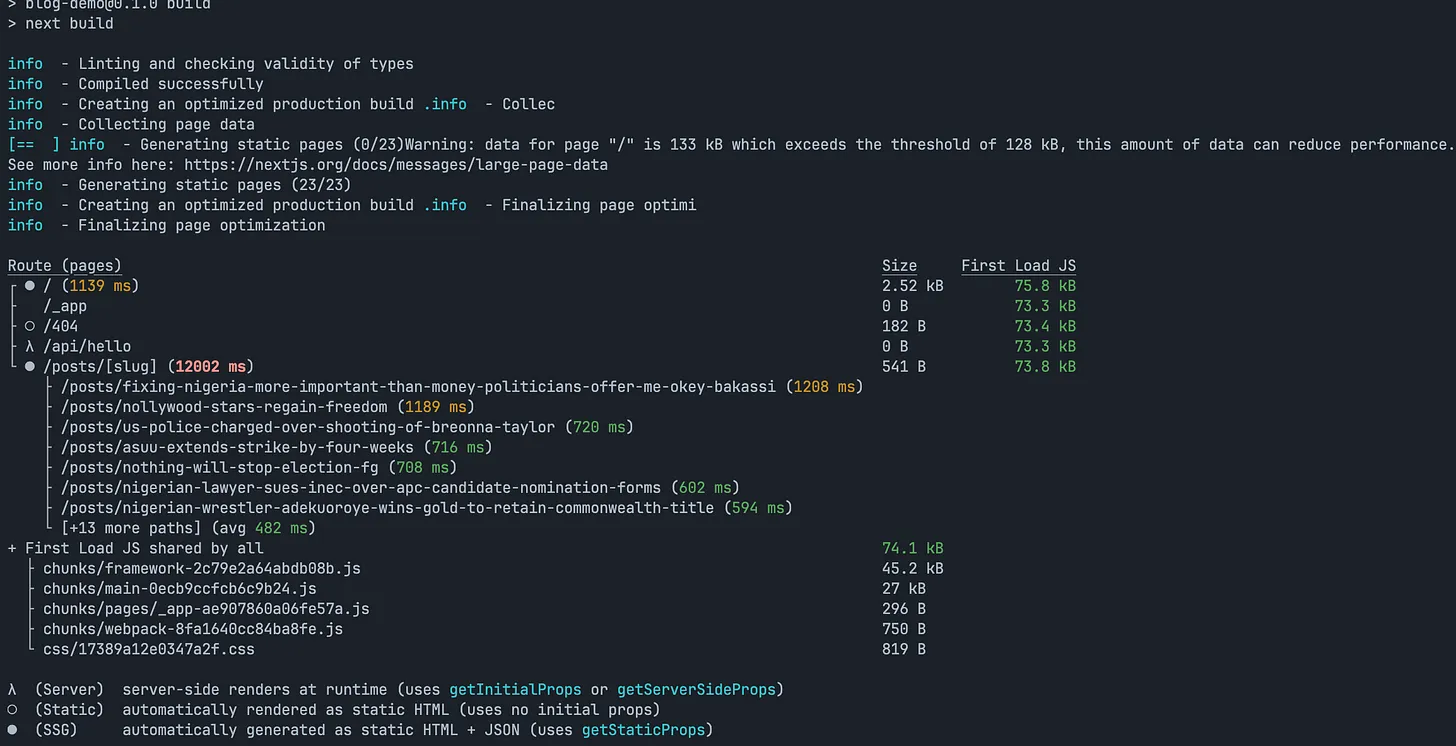
Build and Deploy
next build generates an optimized version of our blog for production and the output is generated in the .next directory.
Vercel is the fastest way to deploy your Next.js application with zero configuration.
Firebase is also a great service to deploy our blog especially when we use SSG without any serverless function. Here's a guide to deploying to firebase
Surge is one of the favorites for fast deployment of static pages. run
npx next build && npx next export && cd out
If you already have surge CLI, then run the legendary command
surge
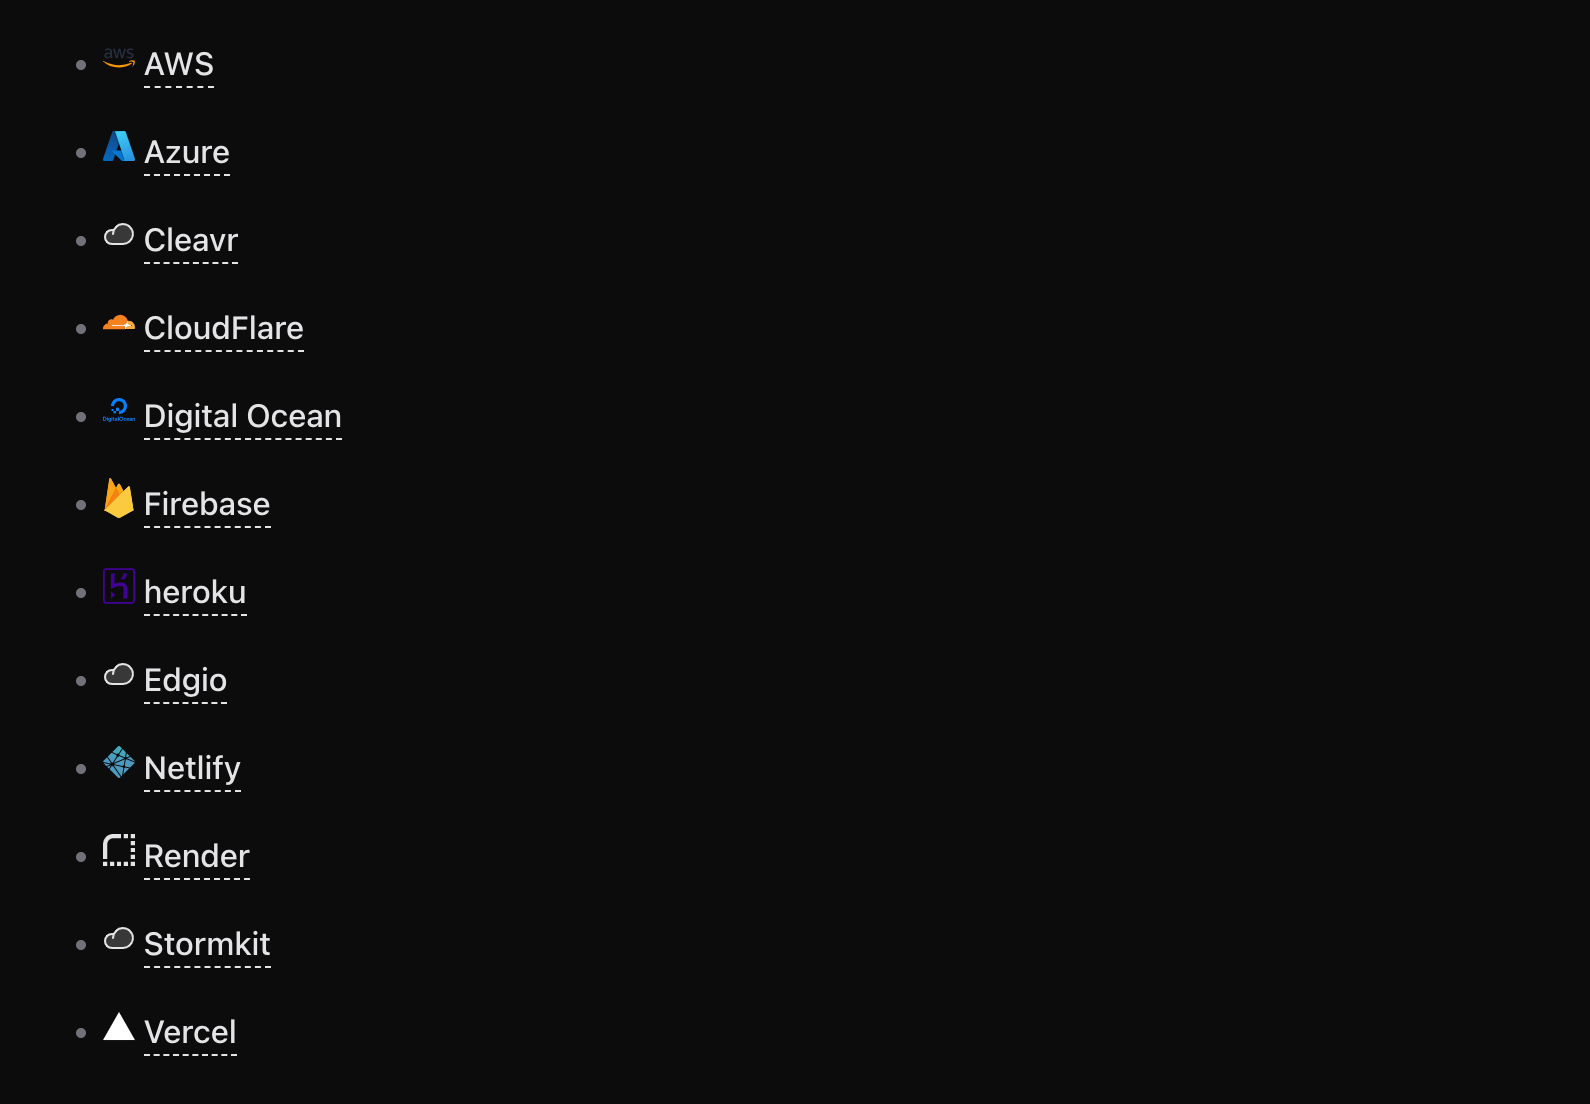
Here's a list of platform that supports NextJs painlessly
Here's a link to the source code https://github.com/johnexzy/blog-with-nextjs
Conclusion
Static Site Generation is a suitable approach when you have a fixed amount of content, such as in a blog. You can run a Statically Generated Site for free using the platforms mentioned above, with a cost only incurred if you use a server or serverless functions in your application.
Thank you for reading this far.
Cheers 🎉


